fbpx

Gorgar Pinball Restoration Episode 05

Welcome to the Gorgar Pinball Restoration Project Episode 05. Its been a little over a month since I last posted and only a couple of months since we acquired this table. It is coming along very nicely and I’m excited to wrap this one up.

Since the last review, we’ve replaced a light socket, cleaned out most of the others with a wire brush. All of the red arrows had strangely raised slightly out of the playfield, so I used the heatgun to soften the glue and push them flush with the playfield. This was a whole lot better than what we did with the Harlem Globetrotter inserts.

All the rubber rights have been replaced. And the flippers have been mostly rebuilt. What I mean by that is I replaced both plungers, as well as the nylon sleeves. The left flipper needed a new crank and end of stroke switch. It looks like it had been hacked as the EOS switch was shorter than it should be and so the crank had some additional material on it so it would still make contact. I believe this added to the lagginess of the flipper. Is that a word? We replaced all the other nylon sleeves in the solenoids for the pop bumpers and kickers.

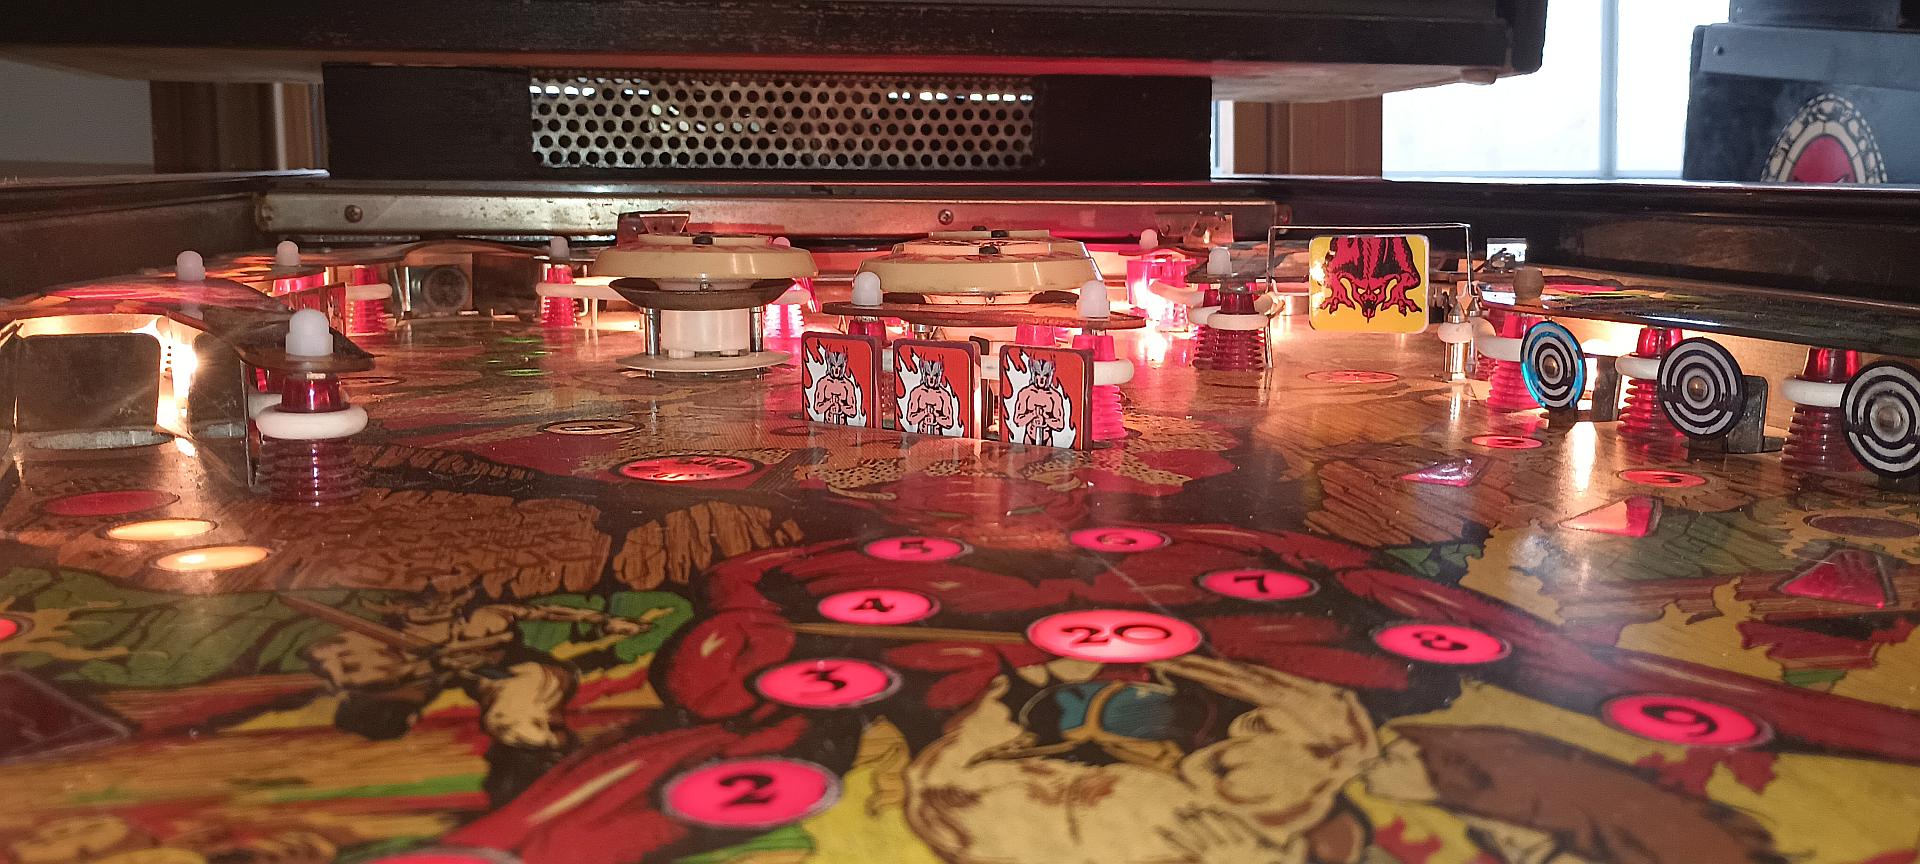
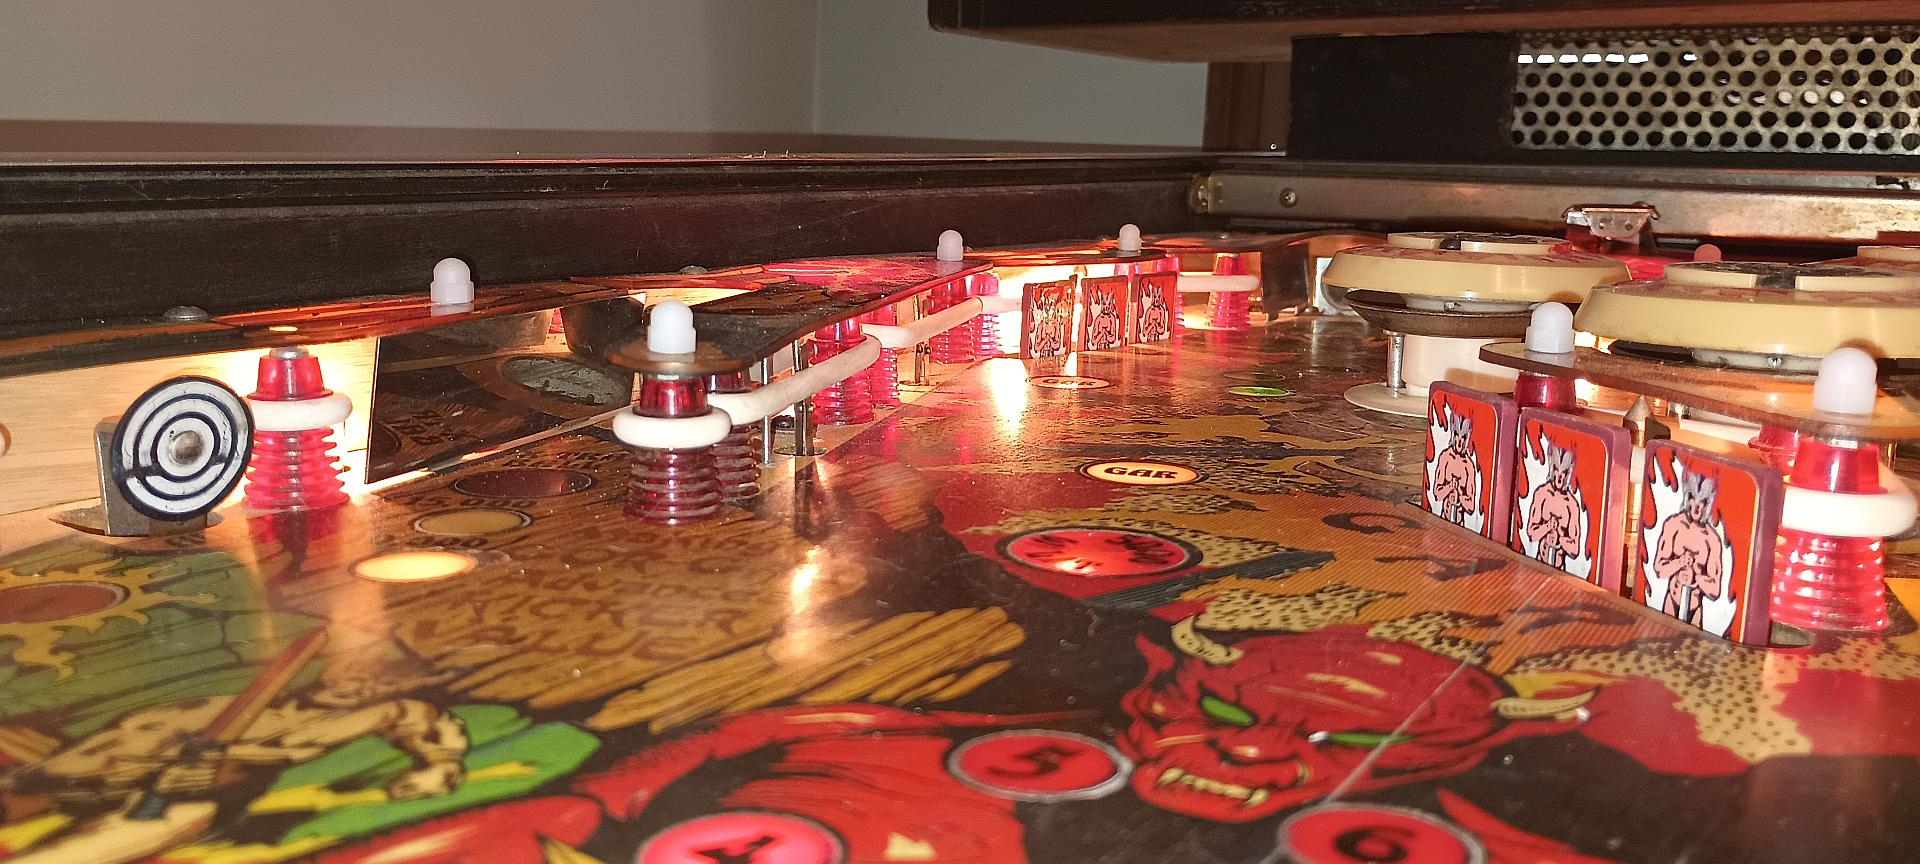
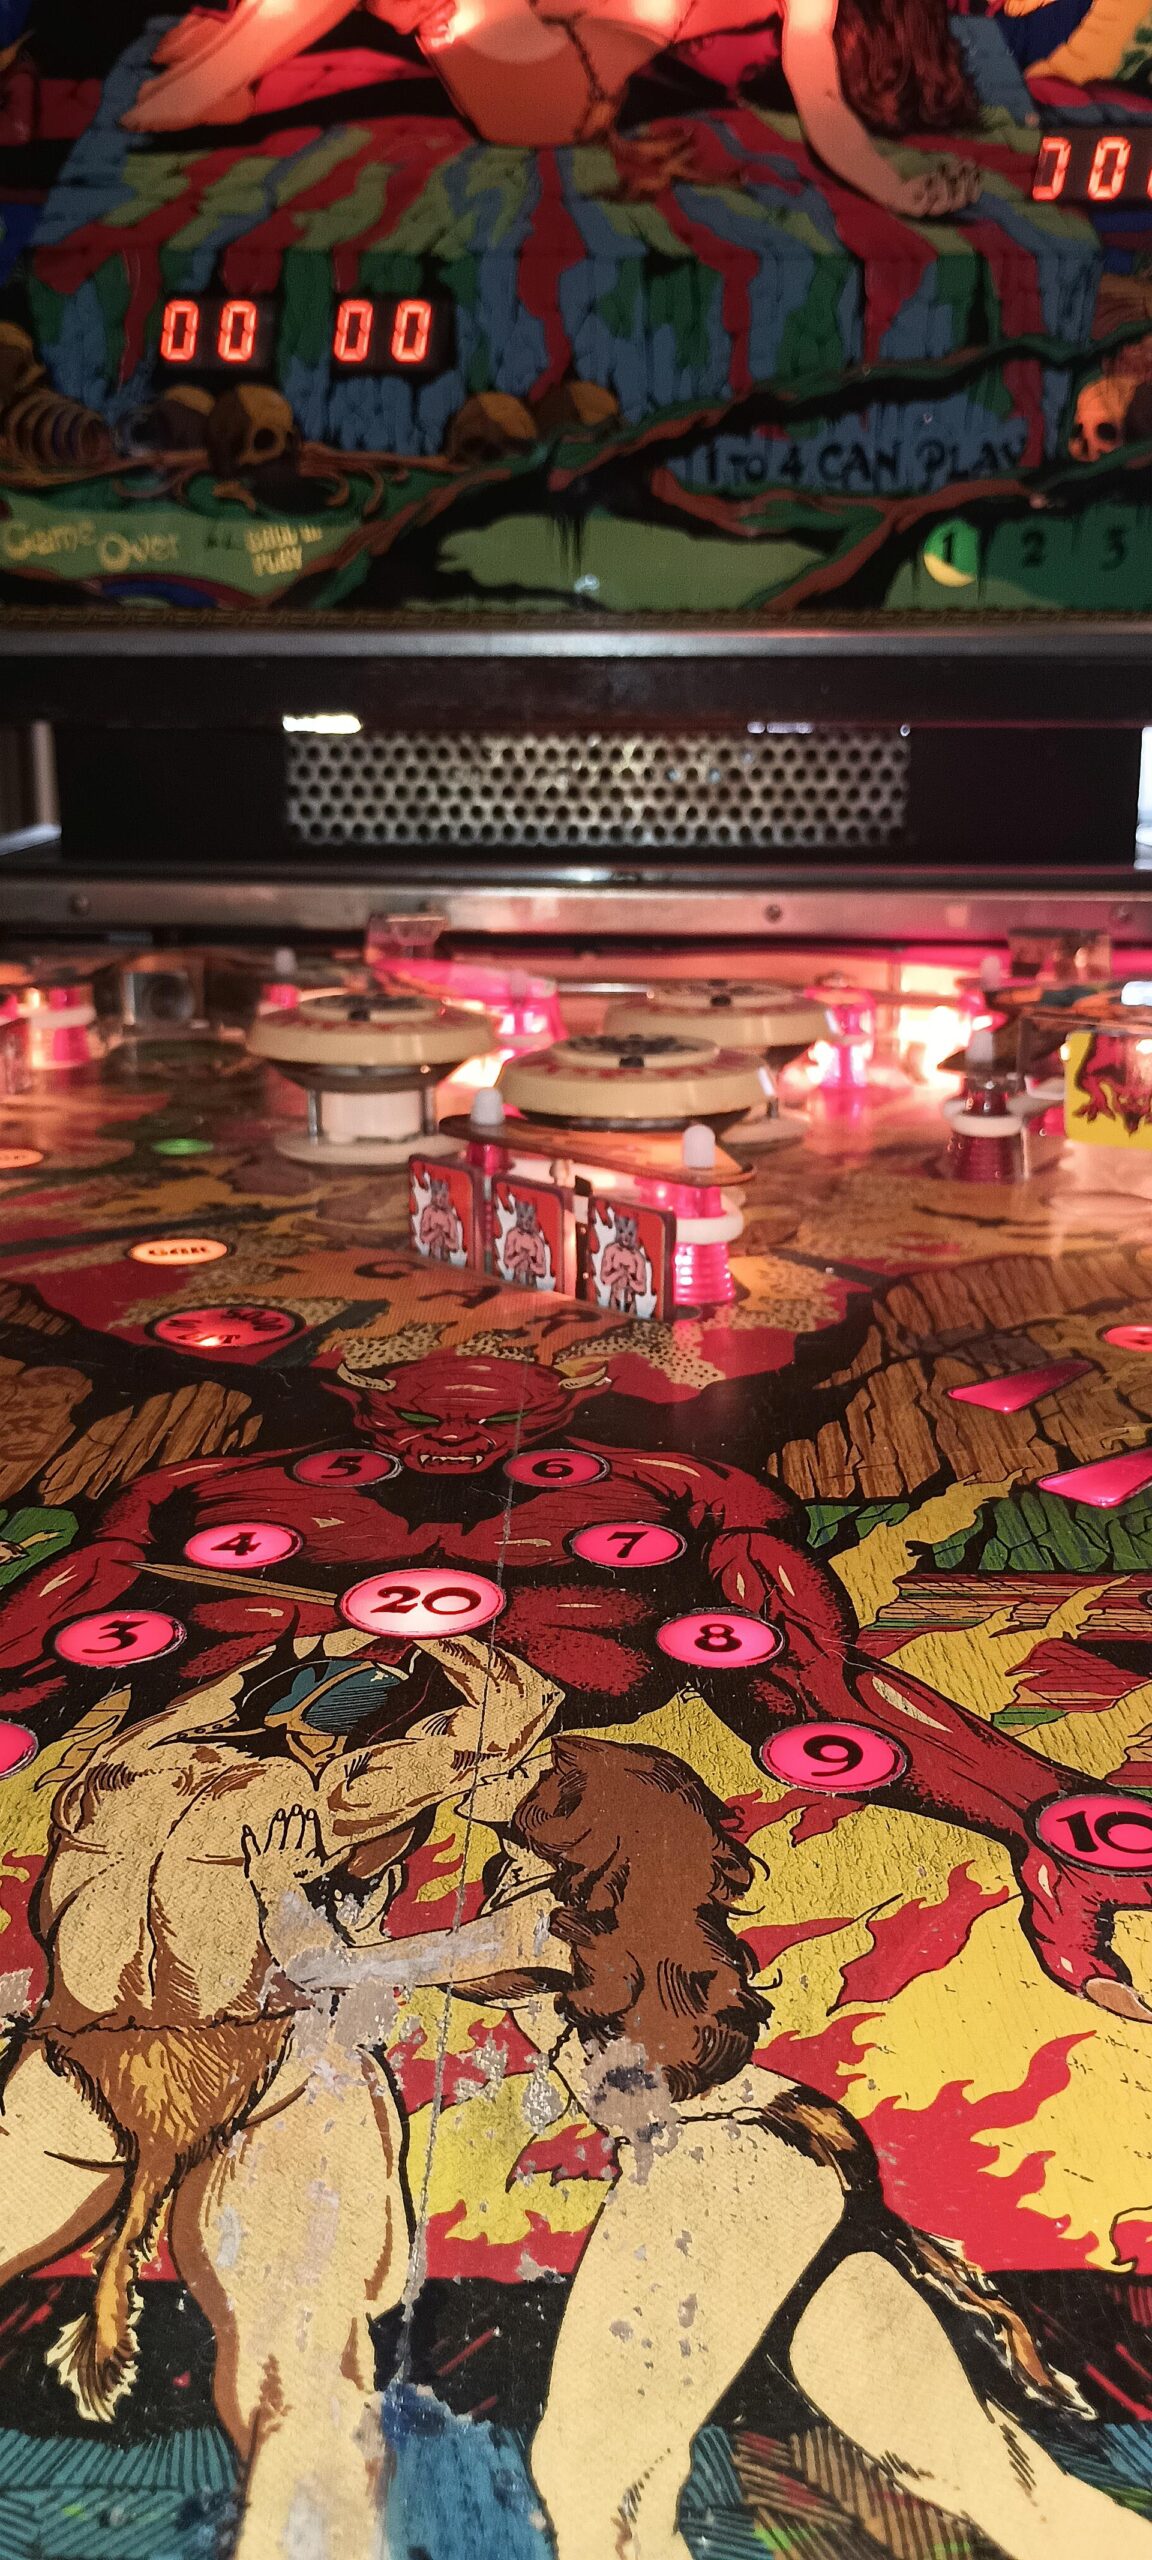
Both of the drop target assemblies were removed, cleaned, adjusted and new decals placed on the drop targets. Playfield switches all got a good look at with many of them getting adjusted so that ball contact with the rubber now triggers them. Lastly, I took all of the plastic off the playfield and flattened it and polished it. Most of them were terribly warped. I used a technic I learned from one of the Pinball Repair blogs and used a heat gun and a couple of panes of glass. As the plastic heats up it softens ever so slightly. I then sandwiched the plastic between the glass and sat a stack of books on the glass and allowed the plastic to cool. This worked wonders with the plastic.

I’m actually enjoying playing this table more than I thought I would. The rule set is deep enough to be challenging, but not so vast that there is just no hope of achieving any of them. My last goal is to touch up the paint in a couple of places in the middle of the playfield and hit it with some spray clear. I don’t have the resources to do a full playfield restore, but if I just touch up a few places, I think it will keep it nice enough for what the machine is currently worth.

Expect a final video in a few weeks showing off the final product.

Gorgar Pinball Restoration Episode 03/04

This is really episode 04, but somehow, I lost 03’s post and the corresponding video. If I find it later, I’ll update this.

To recap what has happened since Episode 02, we were very excited that with just some minor repairs, the MPU (main board) booted to the game. This was very exciting as I have been working on a sister game, Williams Firepower, for several months now, and I still do not have the main board functioning.

The excitement was short lived as I inadvertently plugged the solenoid power incorrectly. I’m sure most of you have heard that within every electronic component, there is some magical black smoke that is used to make it work and when the black smoke is released, the components cease to work. Needless to say, I let loose a bunch of magical black smoke from under the playfield. This mistake was due in part to Williams (for some reason) placing the key pin on the connector as one of the last pins, thereby allowing me to shift the connector by one place which sent voltage to places it shouldn’t have gone.

To the best of my knowledge, I either caused the following, or I eventually discovered the following as a result. We continued to blow a fuse whenever the solenoids were plugged in. After several hours of trial and error, I was able to finally discover that the right kicker solenoid was locking on. I removed it from the power, and as a result, I was actually able to boot into a game and play, reasonably well.

More trial and errors finally allowed me to figure out that I had blown a transistor Q10, and at least IC 7, and possibly IC 6 on the driver board. Fortunately, my local electronics store carried those chips and I was able to switch them out. I also discovered that one of the leaf switches for the kicker had basically disintegrated. So, I ordered and replaced it.

Lastly, the sound board has been rebuilt with new caps all around, and I burned new eproms for the Green Flipper ROMS and the Gorgar code choosing to use a single chip.

Next on the agenda will be cleaning and adjusting switches. New rubber bumpers all around, and replacement of lightbulbs. The flippers will also need to be cleaned and possibly rebuilt, we will see once I get them apart.

Gorgar Pinball Restoration Episode 02

So, I’ve been working on the power supply board as it has to be fully operation before anything else can even be checked. Its also probably the easiest of the boards to restore as there is little to no logic on the board. I replaced 3 of the 4 main capacitors. The big one (yellow) I could not find a replacement for at my local electronics shop, so I will need to source that from the beloved Internet.

Since I have my Firepower motherboard on my bench, I decided to pull the MPU from Gorgar and just see how it would react on the bench. I cleaned up a bunch of the black suet on the board and hooked it up to the old PC power supply that I use for testing. To my surprise, the MPU appeared to boot straight up. Incredible!

If this holds out, then we could be in for a much easier restore than the Firepower. The MPU and Driver board on that system is in bad shape and is taking forever to repair. I did see that the sound board on Gorgar is pretty suspect. There is a large capacitor on it that looks really bad, I’ll need to order a replacement for that as well.

Anyway, I can’t wait to put some of this back in the machine and see just what happens. Sometimes, all you can do is just plug it in (within reason) and see what works.

Gorgar Pinball Restoration – Episode 01

Well, I did it again. I saw this machine come up at a local auction and I had to put a bid on it. Its the Williams Gorgar from 1979. It is a System 6 machine, which as it would happen, is the same generation as our other current work in progress, Firepower.

The machine was sold as “power’s on, but doesn’t work”, which is equivalent to we don’t know if it will ever play again. Judging from the back box, the electronics look remarkably good at first glance. The streak of black suet is an indication that it has not had maintenance in quite a while.

Most of the capacitors are original, these will eventually need to be changed. There is at least one visibly blown fuse (could this be the main problem). The original battery backup holder is still intact and some very old looking Ever Ready Classic batteries sit in the holder and will need to be removed ASAP. Fortunately, no visible corrosion leakage. We will definitely be replacing the battery holder with an external pack to safeguard this in the future. The playfield is not as bad of shape as the Firepower, which clearly sustained some moisture damage.

All in all, there is a higher than even chance we can get this working again. Stay tuned for updates as we go through and try to bring this puppy back to life.

Firepower Pinball Restoration Project — Episode 3

Welcome back to Episode 3. I wanted to get a video update on some minor progress that I’ve made on the machine. Two big gains is getting the head mounts repaired on the cabinet so that we could actually mount the head, and initial testing of the power supply/board, with general illumination appearing to come alive.

The one take-away from this session is that the voltage coming off the power board going to the CPU does not appear to be where it needs to be, which means I need to go back to the power board and check rectifiers and diodes.

Firepower Pinball Restoration Project — Episode 2

Please understand that as with many of you, I only get to spend small amounts of time on my pet projects like this. As such, I’m afraid the episodes might not be the most compelling or lengthy, but hopefully that will inspire you to take the 5 – 10 minutes and just check out what I’m doing as mundane as it may seem.

In this episode, we tackle cleaning out the base of the cabinet. Petrified mud nests, mummified mouse and a plethora of quarters. I mean, a lot of quarters. I was surprised, first of all, that the money box was still inside the machine. This is the first machine I’ve purchased in which it was still in place. Unfortunately for me, the mouse had apparently decided that George Washington’s metallic presence was a great place to go to the bathroom. So, before we get to count our treasure, old George needs to have a good bath.

I also hit a lot of the plastics with some rubbing alcohol to see what yuck I could pull off. It wasn’t cutting it, so we removed all of the ones we could, there is one that is fused with a rusted screw into the playfield. I’ll probably have to drill out the screen to free it. Initial inspection of the rubber bumpers indicate that they could be salvaged, but the cost to replace all of them with new ones is so minor, I’m just going to toss them since they have yellowed so much from the environment they’ve been left in.

I hope you enjoy the progress. Little steps and we can possibly get this beast back on its feet.

1980 Williams Firepower Pinball Restoration Project

Welcome to this first of a series of blog posts which will hopefully document my attempts at resurrecting this corpse of a pinball machine that I purchased recently at an auction. During the COVID years, lucked into a 1978 Bally Harlem Globetrotter pinball machine that needed some work. I decided to take the chance and started my adventure down the road to pinball machine restoration. It was a lot of fun and I learned a lot. My love the era and the machines has grown as has my respect for what goes into the designs.

This machine is in much worse shape than that one or the 1991 Data East Phantom of the Opera machine which I purchased less than a year ago. While neither of those machines were functioning, they had not sustained the kind of neglect and damage that my current project has endured. The good news is, its one of the highest produced machines in existence, which should translate into easy access to parts. The bad news is, I’m going to need a lot of them and the superficial damage to the cabinet and playfield may well prevent it from ever landing in someone’s collection.

In this first episode, I basically document the total condition of the machine as I have received it from the auction site and my initial observations of the machine. The one glimmer of hope that I have is that the back box is not in bad shape and the electronics look to be fairly solid. I will need to go over each board and verify key solder points and chips connections, but we have at least a 30-40% chance of powering up with some basic TLC.

Enjoy the video. Please let me know what you think.